DIY Lighting Projects: Building Custom LED Fixtures
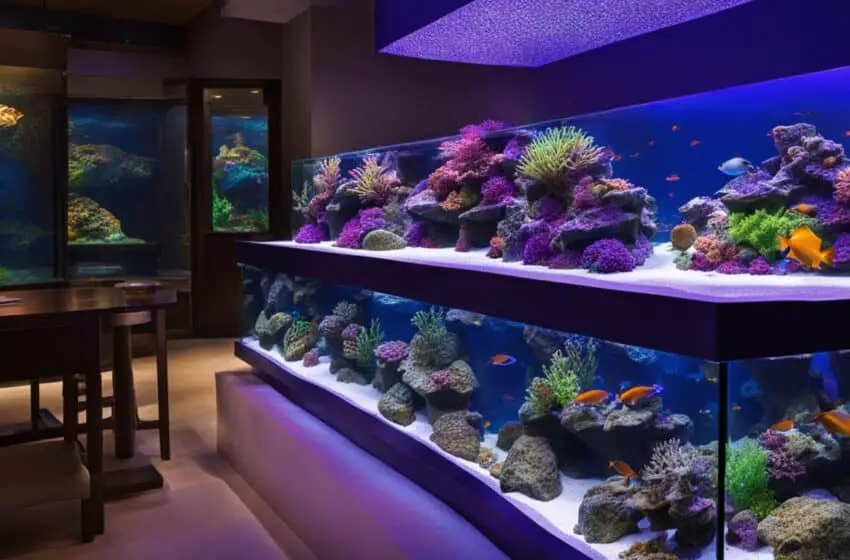
Welcome to this guide on DIY lighting projects, where I will walk you through the process of building custom LED fixtures for saltwater aquarium lighting. Whether you’re a seasoned hobbyist or just starting out, creating your own LED fixtures can offer a cost-effective and personalized solution for illuminating your aquarium.
LED fixtures have become increasingly popular for saltwater aquariums due to their energy efficiency, long lifespan, and customizable lighting options. By building your own fixtures, you have the freedom to customize the intensity, color spectrum, and even sunrise and sunset effects to mimic the natural environment of your fish and corals.
In this guide, we will explore the equipment needed, step-by-step instructions for cutting and mounting the LED ribbon, and the various aluminum rail and LED ribbon options available for custom fixtures. So let’s dive in and discover the world of DIY lighting projects!
Key Takeaways:
- Building custom LED fixtures allows for cost-effective and personalized saltwater aquarium lighting.
- LED fixtures offer energy efficiency, long lifespan, and customizable lighting options.
- DIY lighting projects involve cutting and mounting LED ribbon with various aluminum rail options.
- Custom fixtures provide the flexibility to adjust intensity, color spectrum, and special lighting effects.
- DIY LED lights require careful consideration of photometric results, limitations, and real-world performance.
Materials and Equipment Needed
To build your own LED fixtures, you will need several materials and equipment. Whether you are a seasoned DIY enthusiast or a beginner looking to embark on a new project, having the right tools at your disposal is crucial for a successful endeavor. Here are the essential items you’ll need:
LED Ribbon
The LED ribbon is the backbone of your custom lighting fixture. It provides the illumination and flexibility required to achieve the desired lighting effects. Make sure to choose a high-quality LED ribbon that meets your specific project requirements.
Channel Rail
The channel rail serves as the framework for your LED fixture. It holds the LED ribbon securely in place and allows for easy installation. Consider the different types of channel rail available, such as regular rail, corner rail, and recessed rail, to determine the best fit for your project.
Mounting Clips
Mounting clips are used to attach the LED ribbon to the channel rail. They ensure a secure and stable connection, preventing any potential damage or displacement. Opt for sturdy, reliable mounting clips that can withstand the test of time.
Screws
Screws are necessary for securely fastening the channel rail to the desired mounting surface. Be sure to choose screws that are compatible with your channel rail and suitable for the surface you’ll be mounting it on.
Wire Nuts
Wire nuts are used for joining and securing electrical wires. They provide a safe and insulated connection, reducing the risk of electrical hazards. It’s essential to select wire nuts that are compatible with the gauge of your LED ribbon wires.
Power Supply
The power supply is a vital component that converts the electrical current from your main power source into the appropriate voltage and current required to operate the LED ribbon. Select a power supply that is compatible with your LED ribbon’s power requirements and the voltage in your region.
Tape Measure
A tape measure is essential for accurately measuring the length of the LED ribbon and the channel rail. It ensures precise cuts and a professional finish for your custom LED fixture. Choose a durable and easy-to-read tape measure for accurate measurements.
Sharp Scissors
Sharp scissors are necessary for cutting the LED ribbon to the desired length. They allow for clean and precise cuts, preventing any damage to the LED chips or the ribbon itself. Make sure to use scissors specifically designed for cutting electrical wires.
Hacksaw
A hacksaw is useful for cutting the channel rail to the required length. It allows for straight and accurate cuts, ensuring a seamless fit for your LED ribbon. Look for a hacksaw with fine teeth for smooth cutting.
Vise or Clamp
A vise or clamp is optional but can be helpful for securely holding the channel rail in place during the cutting and installation process. It provides stability and prevents any accidental movement that could compromise the alignment of your LED fixture.
By having these materials and equipment ready, you’ll be well-equipped to tackle your DIY LED lighting project efficiently and effectively.
Step-by-Step Guide for Building Custom LED Fixtures
Building custom LED fixtures for your saltwater aquarium lighting requires careful planning and precise execution. In this section, I will provide a step-by-step guide to help you navigate through the process seamlessly. By following these instructions, you can ensure a successful DIY project.
Gather the necessary tools and materials
Before diving into the construction process, gather the following tools and materials:
- LED ribbon: Choose a high-quality LED ribbon that suits your lighting needs.
- Channel rail: Select a suitable channel rail to hold and protect the LED ribbon.
- Mounting clips: These will secure the LED ribbon inside the channel rail.
- Screws: Use screws to attach the channel rail to your aquarium or desired location.
- Wire nuts: These connectors will help you wire the power supply.
- Power supply: Select a compatible power supply based on the LED ribbon’s specifications.
- Tape measure: A tape measure will ensure accurate measurements while cutting the ribbon and channel rail.
- Sharp scissors and hacksaw: These tools will be used to cut the LED ribbon and channel rail to the desired lengths.
- Vise or clamp: This will help secure the channel rail during the cutting process.
Cutting the LED ribbon and channel rail
Measure and mark the desired length for both the LED ribbon and channel rail using a tape measure. Secure the channel rail in a vise or clamp to prevent it from moving during the cutting process. Use sharp scissors to cut the LED ribbon and a hacksaw to cut the channel rail. Remember to double-check your measurements before cutting to ensure accuracy.
Mounting the LED ribbon in the channel rail
Now it’s time to mount the LED ribbon inside the channel rail. Place the LED ribbon into the channel, making sure it fits securely. Use mounting clips to hold the ribbon in place at regular intervals along the channel. This will prevent any movement or sagging of the LED ribbon once it’s installed.
Capping the channel rail
To complete the look and protect the LED ribbon, cap the ends of the channel rail. This will ensure a clean and finished appearance. These caps are typically designed to fit securely onto the channel rail, creating a seamless finish.
Wiring the power supply
The final step is to wire the power supply for your LED fixtures. Carefully follow the manufacturer’s instructions to connect the power supply to the LED ribbon. Use wire nuts to securely fasten the wires together, ensuring a reliable and safe electrical connection.
With the LED ribbon mounted, channel rail cut and capped, and the power supply wired, you’re one step closer to enjoying your custom LED fixtures. However, it’s essential to test the lighting system and make any necessary adjustments before permanently installing it in your saltwater aquarium. By following this step-by-step guide, you can create beautiful and personalized LED fixtures for your aquatic environment.
Selected Aluminum Rail and LED Ribbon Varieties
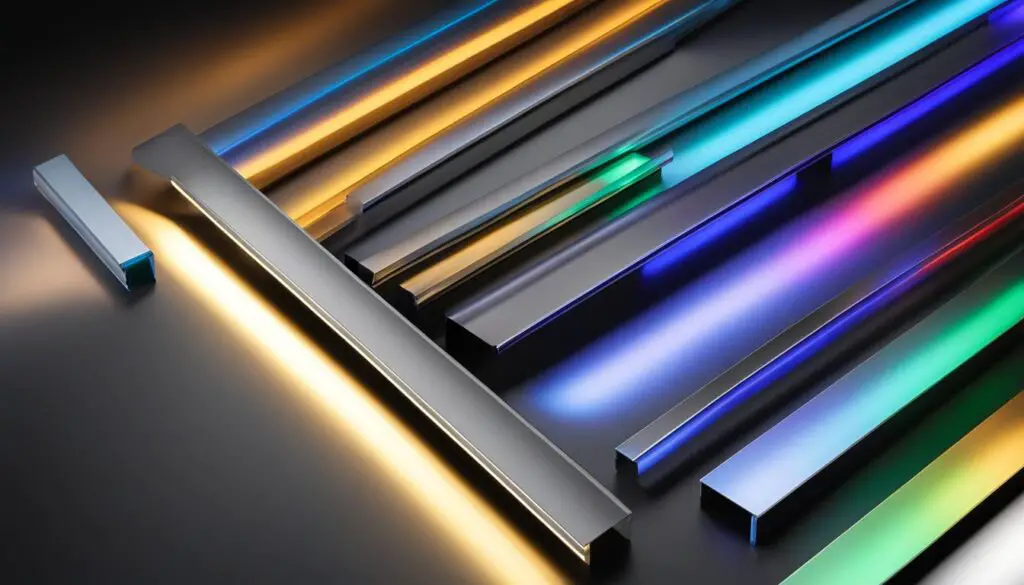
To customize your LED fixtures, you have a wide range of options when it comes to aluminum rail and LED ribbon varieties. JKL offers a comprehensive selection that allows you to achieve your desired lighting effects for your saltwater aquarium.
Aluminum Rail Varieties:
- Regular Rail: This versatile option provides a sturdy and reliable base for your LED fixtures. It is the standard choice for many DIY lighting projects and offers a seamless integration with the LED ribbon.
- Corner Rail: If you need to create angled or corner installations, the corner rail is the perfect solution. It allows for seamless transitions between straight and curved sections, ensuring a professional-looking finish.
- Recessed Rail: For a sleek and discreet lighting design, the recessed rail is an excellent choice. It allows you to recess the LED ribbon into the rail, providing a seamless and integrated look.
LED Ribbon Varieties:
When it comes to LED ribbon varieties, JKL offers a range of options to suit different preferences and lighting requirements:
- Standard LED Ribbon: The standard LED ribbon is a versatile choice that provides a balanced and uniform illumination. It is suitable for various lighting applications and offers a cost-effective solution for your DIY projects.
- High Density LED Ribbon: If you require brighter and more intense lighting, the high density LED ribbon is a perfect option. It offers a higher number of LEDs per meter, delivering enhanced brightness and vibrant illumination.
- RGB Adjustable LED Ribbon: For those who want to create dynamic and customizable lighting effects, the RGB adjustable LED ribbon is an excellent choice. It allows you to adjust the color output, offering a spectrum of vibrant and eye-catching hues.
With these aluminum rail and LED ribbon varieties, you have the flexibility and freedom to create unique and stunning LED fixtures tailored to your specific saltwater aquarium lighting needs.
Pros and Cons of DIY LED Lights
Building DIY LED lights for saltwater aquarium lighting offers a range of advantages and disadvantages to consider. Here, I will discuss the pros and cons of undertaking this project.
Pros of Building DIY LED Lights
1. Cost-Effectiveness: One of the key benefits of building DIY LED lights is the potential cost savings. Purchasing pre-made LED fixtures can be expensive, but creating your own can be significantly more affordable.
2. Customization Options: DIY LED lights allow you to design fixtures that meet your specific lighting needs. You can choose the LED ribbon colors, brightness levels, and create unique lighting effects tailored to your saltwater aquarium.
Cons of Building DIY LED Lights
1. Time-Consuming: Building DIY LED lights can be a time-consuming process. From researching and gathering materials to cutting and wiring, each step requires careful attention and precision. Be prepared to invest a significant amount of time in this project.
2. Trial and Error: Since DIY LED lights involve custom construction, there may be a trial and error period to achieve your desired results. You may need to experiment with different LED ribbon lengths, placements, and wiring techniques to optimize the lighting in your aquarium.
While there are benefits to building DIY LED lights, it’s important to weigh the potential challenges and time investment involved. Consider your budget, the level of customization you desire, and the availability of your time and resources before embarking on this project.
Continue reading to discover the various aluminum rail and LED ribbon options available for your custom LED fixtures.
Conclusion
In conclusion, building DIY LED lights for saltwater aquarium lighting can be a cost-effective and customizable option. By utilizing materials such as LED ribbon and aluminum rail, enthusiasts can create personalized fixtures that suit their specific needs and preferences.
However, it is important to consider the photometric results when using DIY LED lights. While they may not replicate colors accurately compared to professional-grade fixtures, they can still provide a nice quality of light when used with proper adjustments.
It is also essential to understand the limitations of DIY LED lights. These homemade fixtures may require some trial and error to achieve the desired lighting balance and intensity. Additionally, the real-world performance of DIY LED lights may vary depending on the skill and expertise of the individual builder.
Overall, DIY LED lights offer an exciting opportunity for aquarium enthusiasts to create custom lighting solutions. With careful consideration of the photometric results, limitations, and real-world performance, hobbyists can achieve stunning lighting effects in their saltwater aquariums.
FAQ
What materials and equipment do I need to build custom LED fixtures for saltwater aquarium lighting?
To build your own LED fixtures, you will need LED ribbon, channel rail, mounting clips, screws, wire nuts, power supply, tape measure, sharp scissors, hacksaw, and a vise or clamp.
What is the step-by-step process for building custom LED fixtures?
The process includes cutting the LED ribbon and channel rail to the desired length, mounting the LED ribbon in the channel, capping the channel rail, and wiring the power supply. Each step will be explained in detail to ensure a successful DIY project.
What options are available for aluminum rail and LED ribbon selection in custom LED fixtures?
JKL offers a variety of aluminum rail options such as regular rail, corner rail, and recessed rail. You can also choose from different LED ribbon varieties including standard LED ribbon, high density LED ribbon, and RGB adjustable LED ribbon.
What are the pros and cons of building DIY LED lights for saltwater aquarium lighting?
Some of the pros include cost-effectiveness and customization options. However, it can be time-consuming and require trial and error.

